Best Soft Plastics for Redfish from a Kayak: My Confidence Lineup
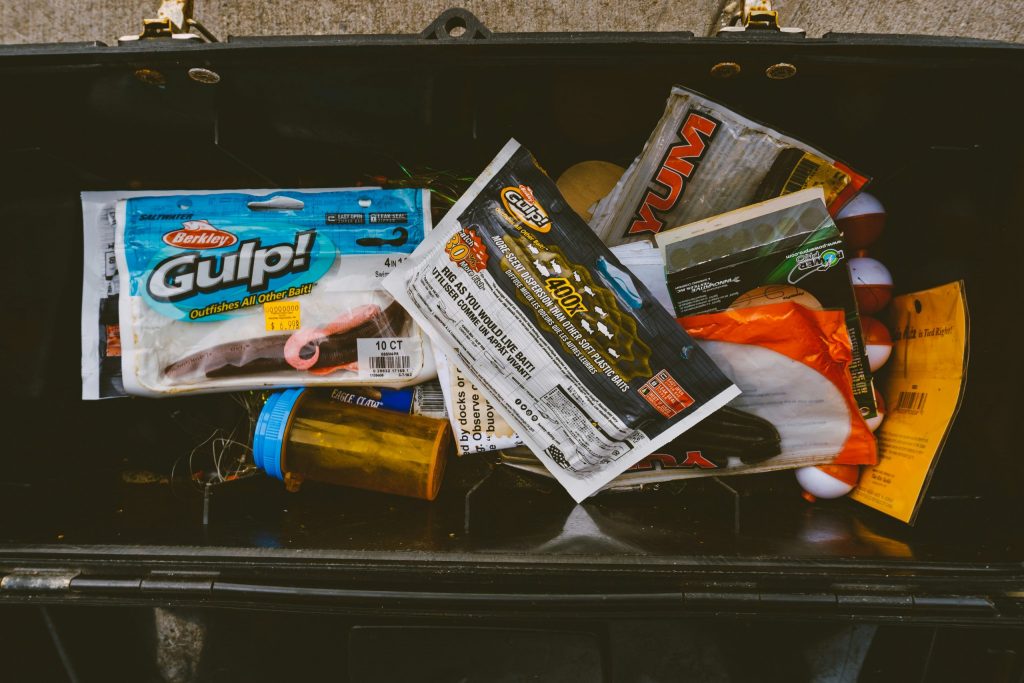
I used to be the guy with three tackle trays of half-used soft plastics rolling around in the crate… and only about four of them ever caught fish. The rest just looked good on the pegboard.
Somewhere between paddling skinny creeks in the marsh and getting my butt kicked by guys with way simpler setups, I started trimming the fat. These days, when friends ask me about the best soft plastics for redfish from a kayak, I don’t hand them a shopping list a mile long. I show them a small handful of baits rigged right for the way we actually fish from the seat.
This guide is that conversation, just written down: a tight “confidence lineup,” specific rigging, and how to fish each style in real-world wind, tide, and grass instead of on a clean tackle catalog page.
Quick Answer: Best Soft Plastics for Redfish
The best soft plastics for redfish from a kayak are a 3–4 inch paddle tail, a 4–5 inch jerk shad, and a 3–4 inch shrimp imitation. Carry each in one natural color, one darker stained-water color, and one brighter option. Rig paddle tails on 1/8 oz jigheads or weighted swimbait hooks, jerk shads weightless or lightly weighted, and shrimp plastics on light jigheads around drains, grass edges, and oyster bars.
Table of Contents
Why Soft Plastics Shine from a Kayak
From a kayak, you live close to the water. You’re lower, quieter, and you tend to slide or drift rather than blast from spot to spot. Soft plastics fit that style perfectly:
- You can fish them slow or fast depending on current.
- You can adapt to different depths with the same bait by changing weights.
- They land softly, which is huge for spooky reds on a calm flat.
- You can rig them weedless for grass and oysters, which is basically the whole inshore world.
The trick isn’t having every shape on the market. It’s having a few proven profiles, in a few smart colors, with the right rigging to match what you’re actually paddling into: grass edges, marsh drains, potholes on flats, and oyster-laced shorelines.
If your kayak crate is already crowded, this is also where a simple tackle system helps. I’d rather have a small box of confidence plastics I can reach without thinking than ten bags of lures buried under pliers, leader, and snacks. If your storage setup is a mess, start with this guide to kayak crate setup ideas and build your redfish box around what you can actually access on the water.
Let’s build that lineup.
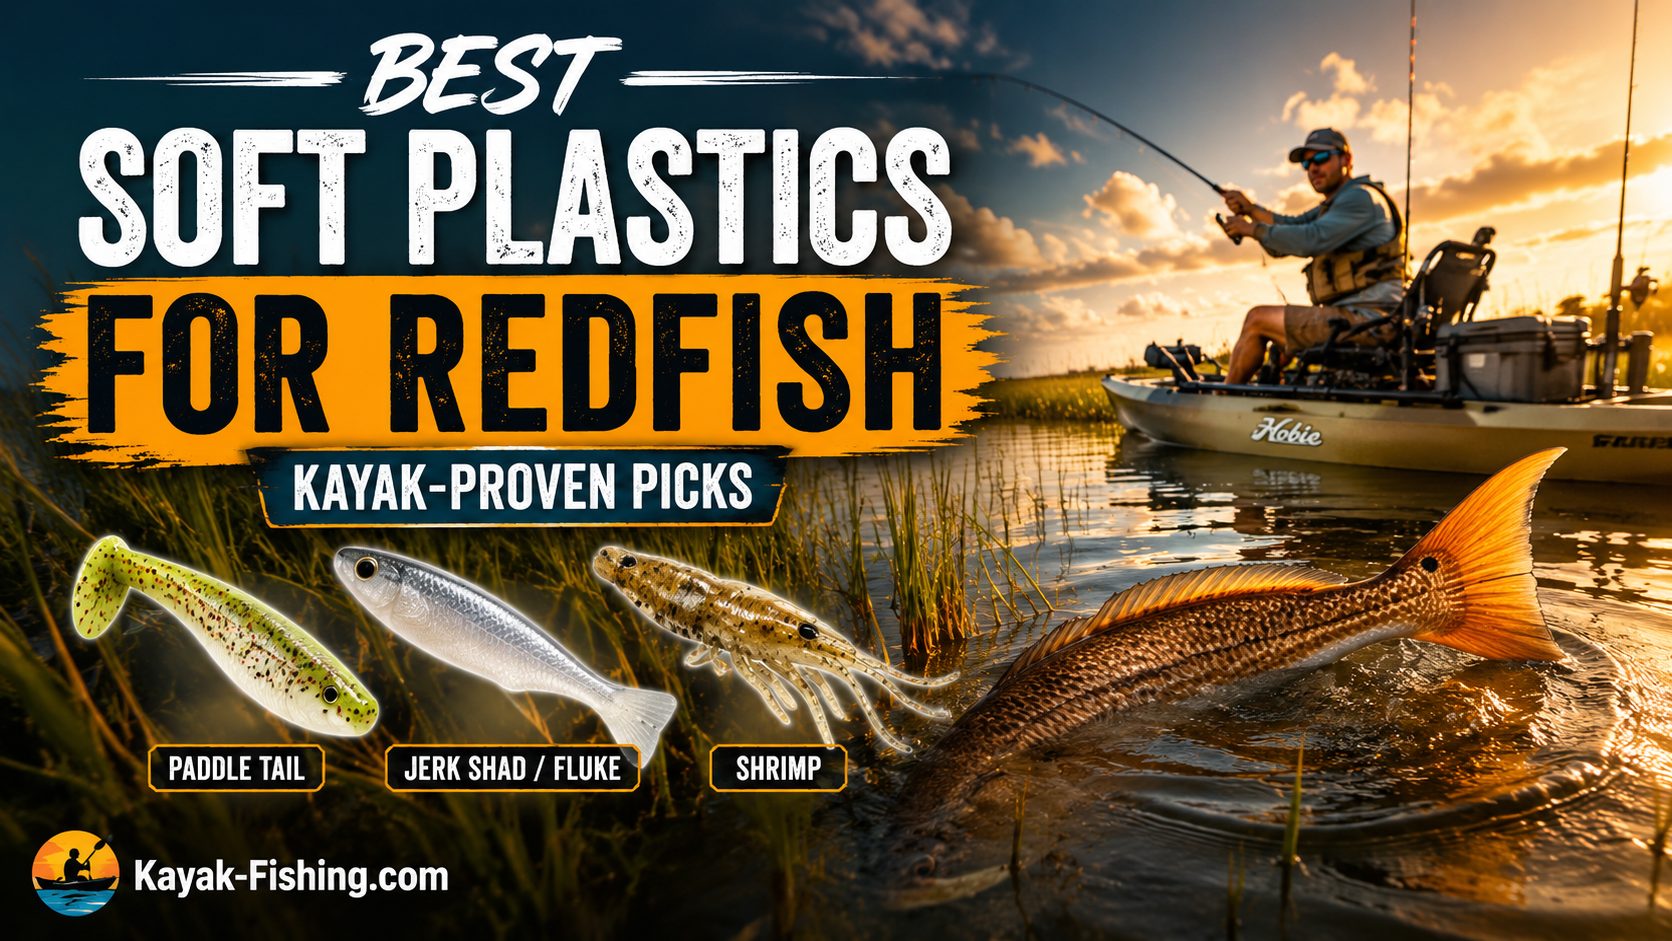
The 3-Style Confidence Lineup
If I had to rebuild my redfish box from scratch, from a kayak, I’d start with just three soft plastic profiles:
- A 3–4 inch paddle tail
- A 4–5 inch jerk shad or fluke-style bait
- A 3–4 inch shrimp imitation
Each one fills a different role, and together they cover basically every realistic scenario you’ll see in marshes, bays, grass flats, and oyster shorelines.
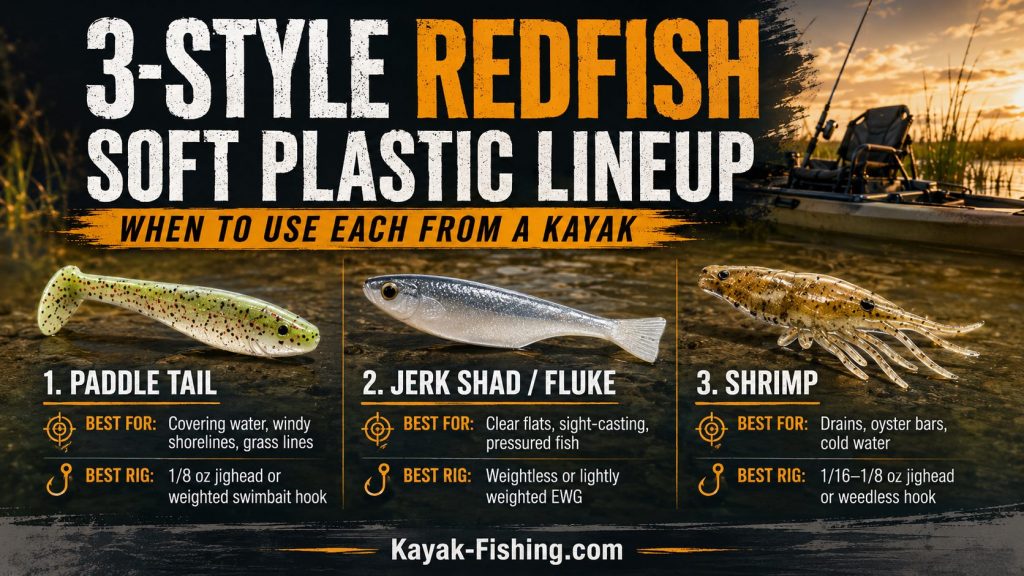
| Soft Plastic | Best Size | Best Rig | Best Use |
|---|---|---|---|
| Paddle Tail | 3–4 inches | 1/8 oz jighead or weighted swimbait hook | Covering water, grass lines, windy banks |
| Jerk Shad | 4–5 inches | Weightless or lightly weighted EWG hook | Clear flats, spooky fish, sight-casting |
| Shrimp Plastic | 3–4 inches | 1/16–1/8 oz jighead or weedless hook | Drains, oyster bars, cold water, slow bites |
We’ll go deep into how to rig and fish them, but first, let’s talk about what makes each one special.
Redfish are built to feed on the same forage these plastics imitate — shrimp, crabs, worms, and small baitfish — which is why a simple paddle tail, jerk shad, and shrimp lineup covers so much water. Texas Parks & Wildlife has a helpful overview of red drum feeding habits and biology if you want a deeper look at the species itself.
Profile 1: The Everyday Paddle Tail
If I could only bring one soft plastic to chase reds from my kayak, it’d be a 3–4 inch paddle tail in a “do everything” color. This is your workhorse. Your search bait. Your “I just need one bite to find them” lure.
Size and Shape
- Length: 3–4 inches covers most situations.
- Body: Slightly thick, with enough plastic to hold a hook and survive multiple fish.
- Tail: A solid thumping paddle you can feel in the rod, even when you’re sitting low in the kayak.
From a kayak, that tail thump becomes a feedback system. You’re often fishing at awkward angles, sideways to the wind, drifting past a point, and that vibration tells you if the bait is swimming right, fouled with grass, or dragging bottom.
When a Paddle Tail Shines
- Locating fish along a grass line: Toss upcurrent, slow roll it back just off the edge.
- Covering shoreline with scattered oysters and pockets: Bounce it along the bottom, ticking shell.
- Windy days when subtle baits get lost: That thump helps fish find it in the chop and turbulence.
If you’re wondering what’s the single most important paddle tail for redfish to own, I’d say this: pick a 3–4 inch model you like, then learn it inside out on light jigheads, weighted swimbait hooks, burned high in the column, and slow-rolled in the mud.
Paddle tails are also the easiest soft plastic to fish when the breeze starts pushing your kayak around. If you struggle to hold position or keep your casts clean on rougher days, read this guide to kayak fishing in wind and then pair those boat-control tips with a steady paddle tail retrieve.
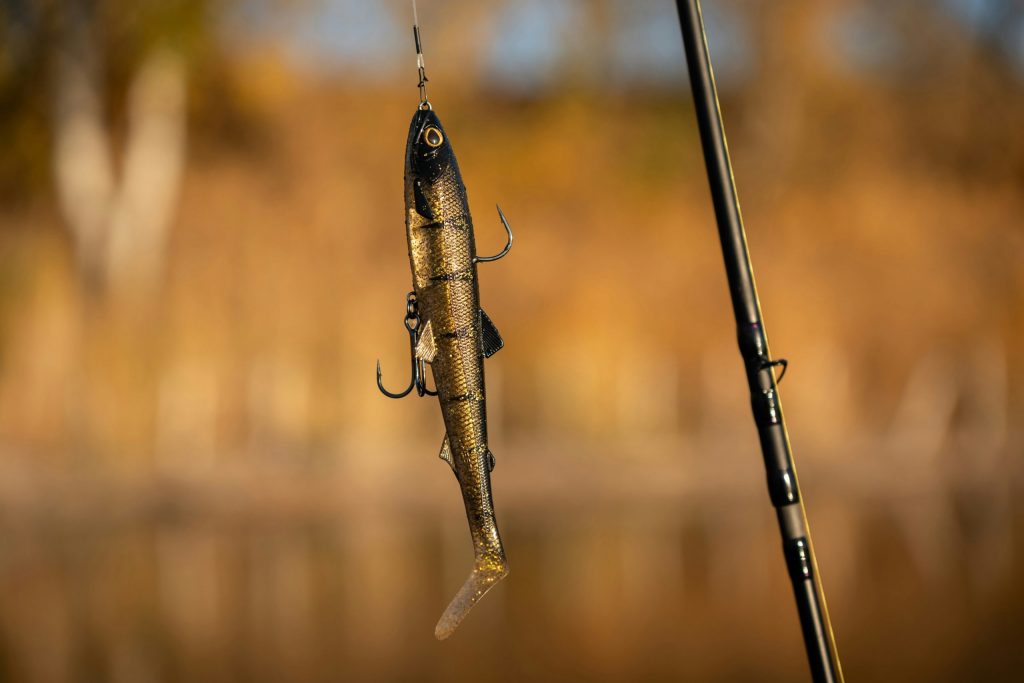
Profile 2: The Jerk Shad or Fluke Style
This is the “do less, catch more” bait, especially in skinny, clear water.
A jerk shad is basically a soft plastic minnow: no moving tail, just a fork or pin tail that comes alive when you twitch the rod. Because the action comes from you, not the lure, it’s easy to make it glide, dart, or fall in a natural way.
Why It’s Deadly from a Kayak
- You can make long, low casts under the wind.
- The bait lands quietly, which matters when you’re sight-casting to tails or pushing wakes.
- You’re often drifting; a twitchy bait that will still “do something” as you glide past is perfect.
On clear flats where reds are tracking baitfish, a jerk shad for redfish can be the difference between spooked fish and a slow stalk leading to that “thunk” and a screaming drag.
When to Reach for the Jerk Shad
- Clear, shallow flats with scattered grass: Twitch-twitch-pause over potholes.
- Pressured fish that have seen every paddle tail: The subtle glide gets more eats.
- Cold, clear mornings: Let it glide and fall slowly instead of ripping a thumping bait.
Think of this bait as your surgical tool when you’ve found fish but need to convince them.
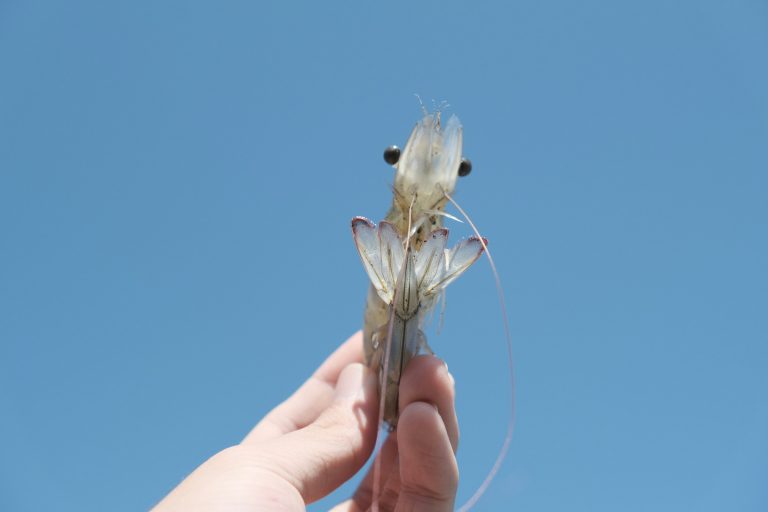
Profile 3: Shrimp-Style Plastics
If the paddle tail is your workhorse and the jerk shad is your surgeon, shrimp plastics are your “get bit when nothing else works” bait.
Shrimp are a natural food source in a lot of redfish water. Plastics that imitate them, especially ones with segmented bodies and little legs or flappers, are killers when fish are feeding near the bottom.
Where They Shine
- Marsh drains on falling tide: Hop a shrimp plastic down current seams.
- Around oyster bars and scattered shell: Bounce slowly; let it sit between hops.
- Cold-water, mid-day windows: Reds often nose down; drag a shrimp through them.
From a kayak, you can slide into small creeks or position just off a drain and pendulum cast a shrimp plastic through the current. Half the time, the bite happens when it’s just hanging or slowly swinging.
This is where tide knowledge matters more than lure hype. A shrimp plastic becomes a lot more effective when you understand where the water is pulling bait out of the grass, across shell, or through a narrow cut. For a deeper breakdown, read How to Read Tides for Kayak Fishing.
Colors that Actually Matter
You don’t need twenty color patterns. You need a few that match or contrast common conditions.
Here’s how I break it down for Gulf and Atlantic marshes, bays, grass flats, and oyster bars.
Clear to Lightly Stained Water
- Natural baitfish tones: silvers, pearls, smoky translucent colors.
- Natural shrimp and crab tones: light browns, tans, subtle purple fleck.
- A hint of chartreuse on the tail can help without turning the bait into a neon sign.
Stained to Muddy Water
- Dark, solid bodies: root beer, dark new penny, black with gold or copper flake.
- Strong contrast: dark body with light belly or light tail.
- In really dirty water, don’t be shy with brighter tails or overall brighter colors.
Light and Season
Bright mid-day, clear sky: I usually lean more natural and translucent. This is when a jerk shad or subtle paddle tail can beat something loud.
Low light, clouds, fog, or dirty water: I want more silhouette. Darker bodies, flake, and contrast help the fish find the bait.
Cold water: Shrimp and smaller-profile paddles in natural tones are hard to beat. Dark colors over muddy or dark bottoms can also give the lure a stronger outline.
Warm water: Full-sized 3–4 inch paddles and bigger jerk shads come into play. Don’t be afraid of brighter baitfish colors when mullet, glass minnows, or other bait are everywhere.
If you stick to 3–4 core colors in each profile — one natural, one darker, one brighter, and maybe one confidence oddball — you’ll be fine.
Jigheads vs. Weedless: Choosing the Right Rig for Kayak Water
Now to the part that matters just as much as the plastic itself: rigging.
From a kayak, you feel lure weight and bottom contact differently than from a high-deck boat. You’re lower, closer to the water, and often fishing with more line out at a steeper angle. Good redfish soft plastic rigs take that into account.
Open Water and Edges: Jigheads
For open shorelines, shell edges, and deeper drains, jigheads are tough to beat.
Go-to weights:
- 1/16 oz: Super skinny water or a slow sink in calm conditions.
- 1/8 oz: Bread-and-butter in 2–4 feet with moderate current.
- 3/16–1/4 oz: Windy days, deeper drops, or strong current.
From a kayak, I’d rather start too light and bump upward than go too heavy and constantly hang bottom. With a lighter jighead, you can maintain contact, keep the bait in the strike zone longer, and pop it free from grass with a quick twitch.
Hook size: For most 3–4 inch redfish plastics, a 3/0 or 4/0 hook is the sweet spot.
Grass and Shell: Weedless and Weightless
When you’re fishing thick grass edges, flooded spartina, or gnarly oyster clumps, open hooks get expensive fast. This is where weighted and weightless weedless rigs shine.
Weighted swimbait hooks for paddle tails:
- 1/8–3/16 oz belly weight.
- Screw-lock keeper to keep the plastic straight.
- Rigged weedless so you can slide through grass and shell, then pause in pockets.
Weightless or lightly weighted EWG hooks for jerk shads and shrimp:
- Think 3/0–4/0 EWG.
- In a foot or less of water, weightless lets the bait die slowly and naturally.
- Add a tiny pinch weight or light keel if you’re fighting wind but still need stealth.
From a kayak, you often end up closer to the weeds than you intended, especially when the wind pushes your bow. Weedless rigs let you work those tight pockets instead of constantly backing away to free your lure from salad.
Reading Feel from the Seat
One thing I had to relearn going from a big boat to a kayak was how bottom contact feels. You have less leverage to pop a snag free, the rod angle tends to be lower, and boat movement adds its own motion to the lure.
My rule of thumb is simple:
- If I rarely feel bottom, I go up one weight.
- If I’m constantly stuck, I go down a weight or switch to weedless.
- If I’m ticking shell and feeling subtle bumps without constant snagging, I’m in the zone.
Braid in the 10–20 lb range with a 20–30 lb fluorocarbon or mono leader helps a ton here. That combo transmits feel better when you’re sitting low and dealing with weird angles.
How to Fish Each Style from a Kayak
Let’s put all this into practical use. Here’s how I fish these soft plastics from the kayak in real redfish water.
Paddle Tail: Cover Water, Then Slow Down
Scenario 1: Windy shoreline with scattered grass and oysters
- Position the kayak slightly off the bank, bow or stern into the wind if possible.
- Make 45-degree casts upwind and upcurrent so the bait swings naturally back past you.
- Let the paddle tail hit bottom, then start a slow retrieve, just fast enough to feel the thump.
- Add a small hop every few cranks to make it jump off the bottom.
Strikes often feel like a mushy weight before the fish realizes it’s hooked. From the kayak, you’ll feel the rod slowly load. Lean into it and start cranking.
Scenario 2: Marsh drain on a moving tide
- Anchor or stake out just outside the mouth of the drain.
- Cast up into the flow and let the bait sink.
- Lift and let it glide with the current instead of overworking it.
This is a great way to both locate fish and tell how they’re positioned. Aggressive fish will usually smack it as soon as it enters the seam.
Jerk Shad: Sight and Subtlety
Scenario 3: Clear flat with potholes and tailing reds
- Drift or pedal slowly across the flat, watching for tails, pushes, or nervous bait.
- When you see a good pocket or a fish, cast beyond and slightly past its line of travel.
- Work the jerk shad with a twitch-twitch-pause cadence, pointing your rod tip low to the water.
- On the pause, try to do nothing. Let the bait glide and fall.
The bite here is often just a tick or the line jumping sideways. In a kayak, sometimes you just see the line stop sinking while the boat keeps moving. Set the hook on any weirdness.
Scenario 4: Pressured shoreline where fish follow but don’t eat paddles
- Position the kayak farther off the bank to avoid shadowing fish.
- Cast parallel to the grass line.
- Work the bait with short, sharp twitches to make it dart erratically, then pause longer than feels natural.
Jerk shads tend to turn followers into eaters when you give them that helpless pause.
Shrimp Plastics: Bottom Hoppers and Dead Stickers
Scenario 5: Cold morning at a marsh drain
This is where shrimp plastics pay off big.
- Post up just outside the drain, often in 3–6 feet of water.
- Cast upcurrent and let the shrimp sink to the bottom on a light jighead.
- Slowly lift the rod tip to hop it, then drop it and let it sit.
Reds in cold water often pin a shrimp to the bottom. Sometimes you’ll pick up, feel nothing, and then the weight loads heavy like a wet sock with a motor.
Scenario 6: Oyster bar edges
- Position the kayak so you can cast along the upcurrent edge of the bar.
- Work the shrimp just off the edge, ticking shell.
- Don’t rip it away from every bump. Learn the difference between shell tap and fish.
Here, a weedless rig can save you a ton of jigheads, especially if the oysters are sharp and clustered.
The “I Tried Everything Until…” Combo That Just Works
One fall, I spent three straight trips in a new marsh system absolutely grinding. The sign was there: mullet flipping, wakes pushing, birds picking. But I was hopping from lure to lure like an infomercial: topwaters, spoons, three different shrimp baits, two different paddle tails, even some random creature baits I found in an old box.
I’d get a bump here, a short strike there, but no consistent bite.
On the third trip, somewhere around tide change, I snapped. I cut everything off and tied on two rods:
- Rod 1: 3 inch natural-colored paddle tail on a 1/8 oz jighead.
- Rod 2: 3 inch shrimp plastic in a brownish natural color on a 1/8 oz jighead.
That was it. No more swapping.
I dedicated the paddle tail to covering water along the outer grass lines and points. Once I got a bump or saw a push, I’d anchor or stake out and switch to the shrimp, working it painfully slow through the same area.
That afternoon I caught more reds than I had in the previous two trips combined, including a handful over slot that absolutely choked the shrimp. Same marsh, same tide, same fish. Just fewer distractions and more focus on getting really good with two baits.
Since then, when people ask about the best soft plastics for redfish from a kayak, I always tell some version of that story. The gear mattered way less than committing to a simple, smart combo and learning exactly how it feels in your hands from the seat of your own boat.
Building a Small but Complete Soft Plastic Box
Let’s turn all this into a real-world shopping and rigging list you can toss straight into your crate.
Plastics
Paddle tails, 3–4 inches:
- 1 natural baitfish color like pearl, silver, or smoke.
- 1 darker color like root beer, dark new penny, or black/gold.
- 1 brighter or confidence color if you have one.
Jerk shads, 4–5 inches:
- 1 light natural color like pearl, white, or translucent baitfish.
- 1 slightly darker natural color like olive or brownish baitfish.
Shrimp-style plastics, 3–4 inches:
- 1 natural shrimp tone like tan, brown, or new penny.
- 1 slightly brighter pattern for dirtier water.
Hooks and Jigheads
Jigheads for paddle tails and shrimp:
- 1/16 oz, 1/8 oz, and 3/16 oz.
- 3/0 and 4/0 hook sizes.
- Strong hooks that can handle slot and upper-slot reds.
Weedless options:
- 3/0–4/0 weighted swimbait hooks in 1/8–3/16 oz for paddle tails.
- 3/0–4/0 EWG hooks, weightless or lightly weighted, for jerk shads and shrimp.
Line and Leader
- Main line: 10–20 lb braid.
- Leader: 20–30 lb fluorocarbon or mono, 2–3 feet long.
That’s plenty to feel your bait, handle oysters, and keep fish out of trouble from the kayak.
Putting It All Together on the Water
If you’re just starting out or looking to simplify, here’s a simple program to follow on a typical redfish trip:
- Launch and scout: Start with the paddle tail on a 1/8 oz jighead. Cover grass edges, drains, and shoreline points, paying attention to where you see bait and wakes.
- Get your first clue: Any bump, follow, busted bait, or pushing wake is a sign. Mark mentally, or on GPS, where it happens.
- Set up quietly: Approach that zone with the wind and tide in mind. Stake out or use a shallow-water anchor if you have one.
- Switch tools, not areas: If fish are spread and feeding, keep the paddle tail going. If fish seem picky or are sitting on the bottom, switch to the shrimp or jerk shad.
- Adjust rigging before changing your whole lure box: If you’re snaggy, go weedless or drop a weight size. If you’re not feeling bottom, bump up a weight and slow down.
- Pay attention to the pattern: Notice whether bites came on the pause, on current seams, near oyster edges, or on darker colors in muddy water.
The more you notice those details, the more your confidence baits become true tools rather than guesswork.
If you want to compare soft plastics with shrimp, cut bait, spoons, and other options, read my full guide to Best Bait for Redfish from a Kayak.
FAQs About Soft Plastics for Redfish
What is the best soft plastic for redfish?
A 3–4 inch paddle tail is the best all-around soft plastic for redfish because it covers water, works in wind, and can be rigged on jigheads or weedless hooks. If you only want to start with one style, start there.
What color soft plastic is best for redfish?
Use natural baitfish colors in clear water, darker root beer or new penny colors in stained water, and brighter tails when visibility is poor. You do not need a huge color selection. One natural, one dark, and one brighter option will cover most kayak redfish trips.
What size jighead should I use for redfish soft plastics?
A 1/8 oz jighead is the best starting point for many kayak redfish situations. Drop to 1/16 oz in shallow calm water and move up to 3/16 or 1/4 oz in wind, current, or deeper drains.
Are paddle tails or jerk shads better for redfish?
Paddle tails are better for covering water and finding fish. Jerk shads are better for clear water, spooky fish, and sight-casting. I like carrying both because they solve different problems from the kayak.
Can you catch redfish on soft plastics from a kayak year-round?
Yes, but your retrieve and profile should change with the season. In warmer water, paddle tails and jerk shads can be worked more aggressively. In colder water, shrimp plastics and smaller paddle tails fished slowly near bottom are often more reliable.
Final Thoughts
You don’t need a pile of plastics to catch redfish from a kayak. You need a handful of proven shapes, in sensible colors, rigged to match the grass, shell, and current that you actually fish.
Build your box around a solid paddle tail, a good jerk shad, and a believable shrimp. Then spend your time practicing how each one feels and fishes from your kayak. After that, you’ll stop worrying about what to throw and start focusing on where to put it.
That’s usually when the redfish part gets a lot more fun.