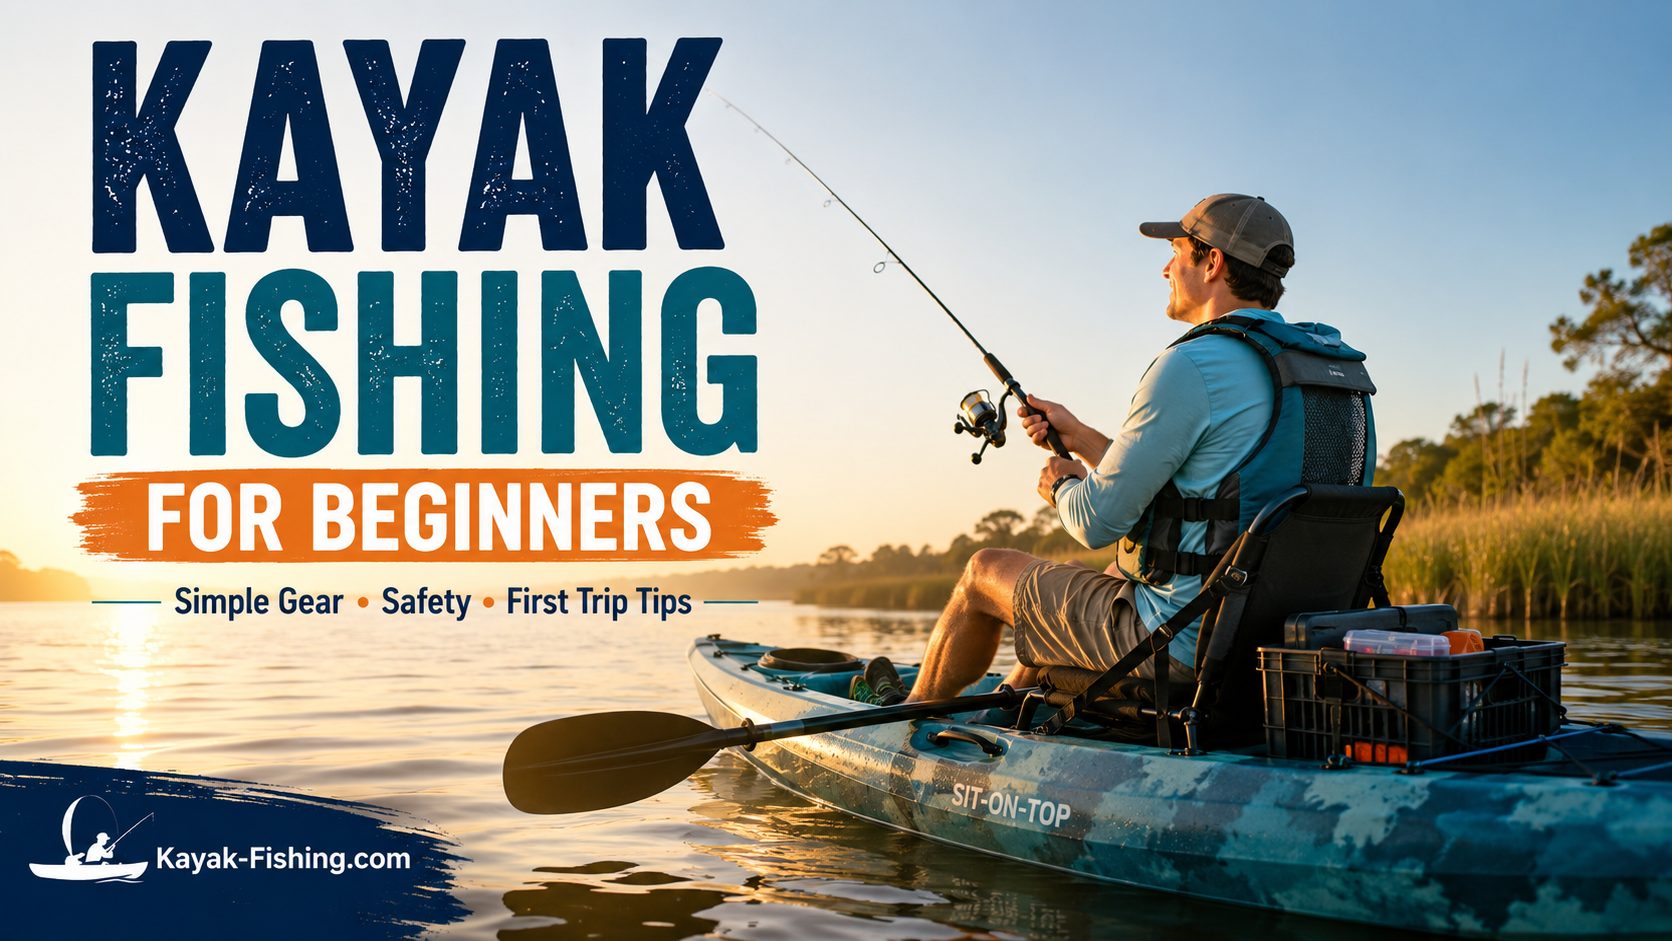
Kayak Fishing for Beginners: Safe, Simple Setup and First-Trip Game Plan
Kayak fishing can feel complicated at first because the angler has to manage the kayak, fishing gear, weather, and safety at the same time. The easiest way to start is to simplify each part of the trip.
This guide focuses on the decisions that matter most before the first few trips: choosing a manageable kayak, wearing the right safety gear, keeping the deck uncluttered, learning basic boat control, and starting on forgiving water.
This kayak fishing for beginners guide is for anglers who already own a fishing kayak or are still deciding what to buy. It provides a practical roadmap for typical U.S. lakes, ponds, slow rivers, and protected inshore water without assuming expensive electronics, a pedal drive, or a heavily rigged setup.
Kayak Fishing for Beginners: Quick Start Cheat Sheet
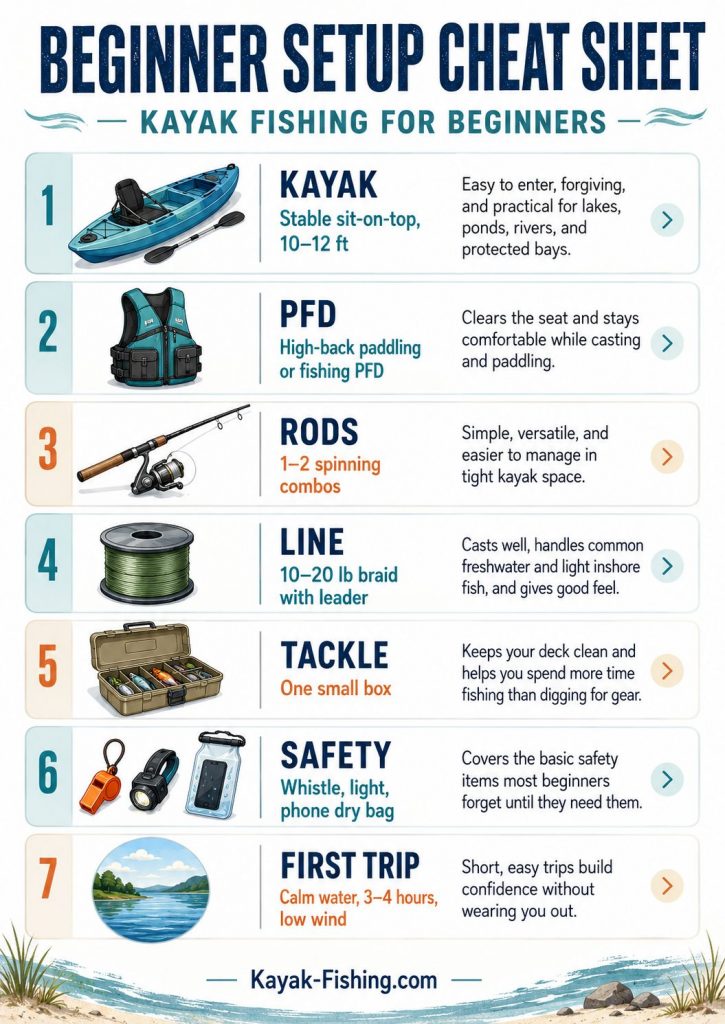
Table of Contents
Before Step 1: Choose Your Beginner Starting Point
Not every beginner starts in the same place. Some people already have a kayak in the garage. Others are still trying to figure out what to buy. Some are comfortable anglers but nervous paddlers. Others are comfortable paddlers but brand new to fishing.
Use this quick table to figure out where to focus first.
| Beginner Situation | Start Here |
|---|---|
| I already own a kayak | Practice paddling first, then add simple fishing gear. |
| I need to buy a kayak | Choose a stable 10–12 ft sit-on-top before worrying about electronics or accessories. |
| I fish small lakes and ponds | Bring two rods, one tackle tray, basic tools, water, and a light anchor. |
| I want to fish inshore bays | Add tide awareness, corrosion-resistant tools, extra water, and a more serious weather check. |
| I’m nervous about flipping | Start in warm, shallow water with a buddy and practice getting in and out near shore. |
| I tend to overpack | Limit yourself to two rods, one main tackle box, one crate, and only the tools you can reach quickly. |
That one decision — starting with the right level of simplicity — makes kayak fishing feel a lot less intimidating.
Step 1: Get Comfortable With the Kayak You Actually Have
You don’t need a fancy pedal drive, a battery box, and a giant graph to start kayak fishing. For most people, a simple fishing kayak is perfect for learning the basics.
Think of this section as “know your boat,” not “go buy more stuff.”
What makes a good beginner fishing kayak?
If you’re still choosing, or just want to sanity-check the one you’ve got, here’s what usually works well for kayak fishing for beginners:
- Sit-on-top style:
Much easier to get in and out of, drains water through scuppers, and feels less claustrophobic if you’re not used to kayaks. - Stable, not speedy:
A wider, flatter hull is more forgiving when you shift your weight to land a fish or reach for gear. You’re not racing; you’re fishing. - 10–12 feet long:
Shorter, around 10 ft, is easier to transport and turn on small ponds and tight creeks. Longer, around 11–12 ft, tracks better and feels more at home on open lakes or windy bays. - Basic fishing features:
A couple of molded-in rod holders, some gear tracks, and a decent seat are enough to start. Don’t worry if it looks “plain” compared to catalog boats.
Before you buy: transport, capacity, and propulsion
Beginner-friendly does not just mean stable. Before buying, make sure the kayak also fits the way you will move, store, and load it.
- Transport weight: Check the hull or assembled weight and think through how you will load it onto a roof rack, truck bed, trailer, or kayak cart. A stable kayak that is too difficult to move alone may get used less often.
- Capacity: Published maximum capacity has to account for the angler plus tackle, water, cooler, battery, motor, electronics, and other gear. Do not treat the maximum rating as a target operating load.
- Storage: Measure the space at home before buying. An 11- or 12-foot fishing kayak still needs a secure place to live between trips.
- Paddle vs. pedal: Paddle kayaks cost less and are mechanically simpler. Pedal drives can make hands-free boat control easier, but they add cost, weight, maintenance, and underwater hardware.
Still choosing your first fishing kayak? Start with our Best Fishing Kayaks for Beginners guide, which compares six options by transport weight, seat comfort, capacity, deck space, and budget. For deeper model research, see the Lifetime Tamarack Angler 100 review, Pelican Catch review, and Old Town Sportsman 106 review
A simple fishing kayak can be enough to learn effectively. Stability, a comfortable seating position, manageable transport weight, and a deck layout you can keep organized matter more to a beginner than loading the hull with electronics and accessories.
Before you fish, just paddle it
If you can, dedicate your first short outing to paddling only:
- Launch with just your paddle, PFD, and maybe one empty crate or small dry bag.
- Practice getting in and out near shore.
- Lean a bit side to side to feel the “secondary stability,” which is how the kayak feels once it tips a little.
- Do some tight turns and short sprints so you know how it responds.
A short practice session also reveals how the kayak reacts when you turn, reach, lean, stop paddling, or get pushed by a light breeze. Learning those reactions in controlled conditions is much easier than learning them while managing rods, hooks, and tackle.
Step 2: Safety First (Yes, Really) – Simple Habits That Matter
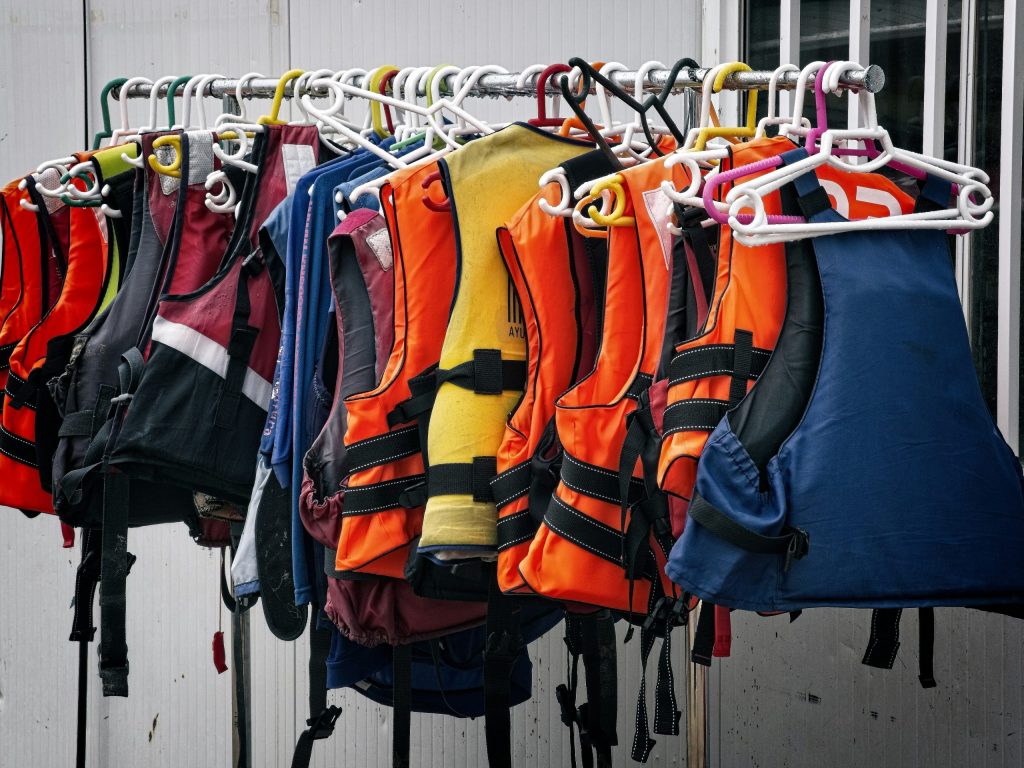
We’ll get to lures and crates, but none of that matters if you’re cold, exhausted, or trying to climb back into a kayak without a life jacket on.
For beginners, a few safety habits deserve to be treated as part of the basic fishing setup rather than optional extras.
PFD: Wear it every single time
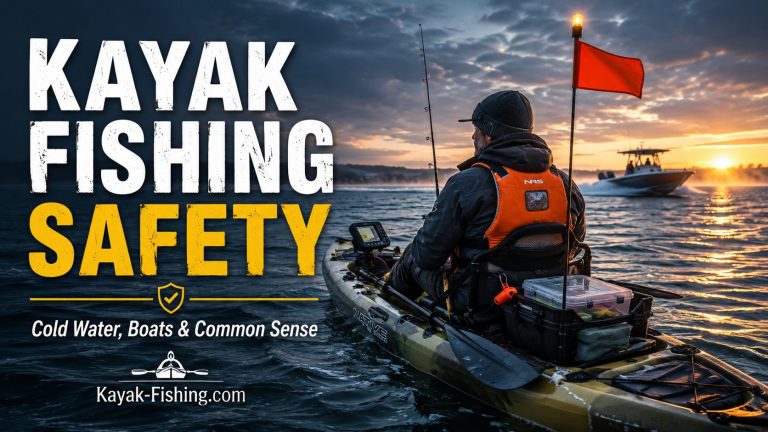
A properly fitted PFD made for paddling or kayak fishing should be worn while you are on the water, not stored behind the seat. The U.S. Coast Guard requires a U.S. Coast Guard-approved wearable PFD for each person aboard a recreational vessel, and state requirements may be more specific.
Look for:
- High-back design so it clears your kayak seat.
- Good arm mobility so paddling doesn’t feel restricted.
- Simple pockets for a whistle, small knife, and maybe your phone in a waterproof case.
A PFD is most useful when an unexpected capsize or fall happens before there is time to reach for stored safety gear. Fit matters too: it should be snug enough not to ride up while still allowing a comfortable paddle stroke and seated fishing position.
Quick beginner safety checklist:
- PFD on and snug
- Whistle or sound signal
- Light if you’re out in low light, after dark, or before sunrise
- Phone in waterproof case or dry bag
- Water, sun protection, and basic first-aid items
- Someone on shore who knows where you’re launching and when you expect to be back
Always check current federal, state, and local requirements for the water you plan to fish. The U.S. Coast Guard life-jacket guidance is a useful federal starting point, but state rules can add requirements.
Dress for the water temperature, not just the air
Clothing should account for an unexpected swim, not just normal paddle drip and spray. The National Weather Service advises dressing for the water temperature rather than the air temperature because cold-water immersion can quickly reduce breathing control, strength, and coordination.
For warmer conditions, clothing still needs to balance sun protection, comfort, and the actual water temperature:
- Warm months: Quick-dry shorts or pants, synthetic shirts, sandals or water shoes. Avoid heavy cotton that stays wet and cold.
- Cooler shoulder seasons: Think in layers. Use a base layer that wicks, a light insulating layer, and a wind or water-resistant shell. Even if it’s sunny, a cold breeze over wet clothes gets old fast.
- Feet and hands: Thin neoprene boots or socks make a big difference when air is warm but water is chilly. Light gloves can help with paddle grip and sun.
If the water is cold enough that an unexpected swim would be difficult to manage in your clothing, change the clothing or change the trip. Depending on conditions, that can mean a wetsuit or dry suit, smaller protected water, staying closer to shore, or postponing the outing. Comfortable air temperature does not make cold water harmless. See the National Weather Service cold-water safety guidance for more detail.
Step 3: Basic Kayak Fishing Gear You Actually Need
A useful basic kayak fishing gear list should stay compact. The goal is to keep safety equipment and essential fishing tools reachable without covering the deck in gear.
Beginner Kayak Fishing Gear Checklist
Before you buy a bunch of accessories, focus on the basics that keep you safe, organized, and fishing.
| Gear | What to Look For | Helpful Guide |
|---|---|---|
| PFD | High-back, comfortable while seated, easy to paddle in | Best PFDs for Kayak Fishing |
| Anchor | Light setup for lakes, ponds, and protected water | Best Kayak Anchors |
| Clothing | Quick-dry layers, sun protection, water shoes | What to Wear Kayak Fishing |
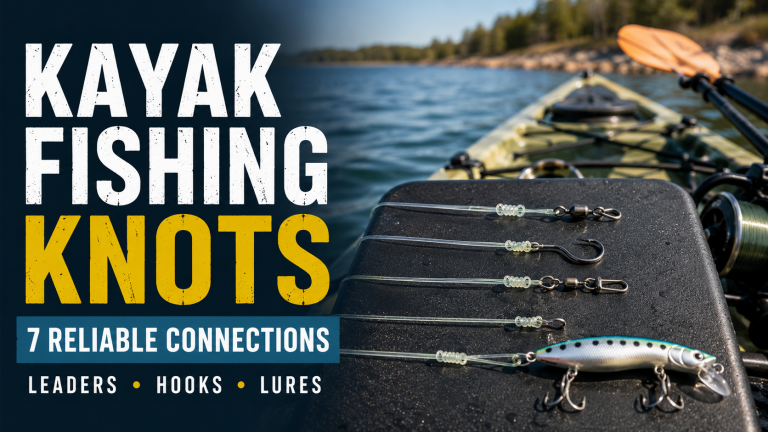
| Knots | A few simple knots you can tie from the seat | Kayak Fishing Knots |
| Wind plan | Know when to go, when to stay close, and when to skip it | Kayak Fishing in Wind |
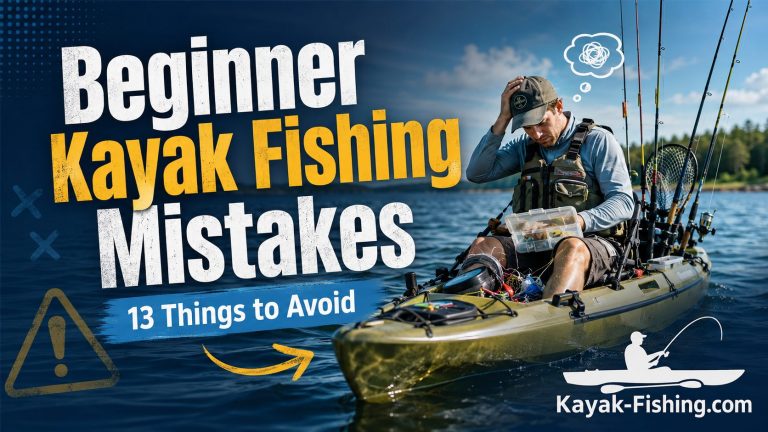
| Mistake check | Overpacking, poor launch choice, messy deck, ignoring weather | Beginner Kayak Fishing Mistakes |
Rods and reels: Start with two
If you already own fishing tackle, there is a good chance some of it will work. For typical bass, panfish, and protected inshore fishing, a practical two-rod starting point is:
- Rod 1: Spinning combo, medium or medium-light, 6’6″–7′
Spooled with 10–15 lb braid and an 8–12 lb fluoro or mono leader. This can throw small plastics, light jigs, and live bait. - Rod 2: Spinning or baitcaster, medium or medium-heavy, 6’6″–7′
Spooled with 20–30 lb braid and a 12–15 lb leader. This handles slightly heavier lures, spinnerbaits, small swimbaits, or inshore spoons.
That’s enough to cover most freshwater plus simple inshore marsh fishing. Bring more rods later if you want; for now, two is easier to manage in tight quarters.
Lures and baits: A small, focused box
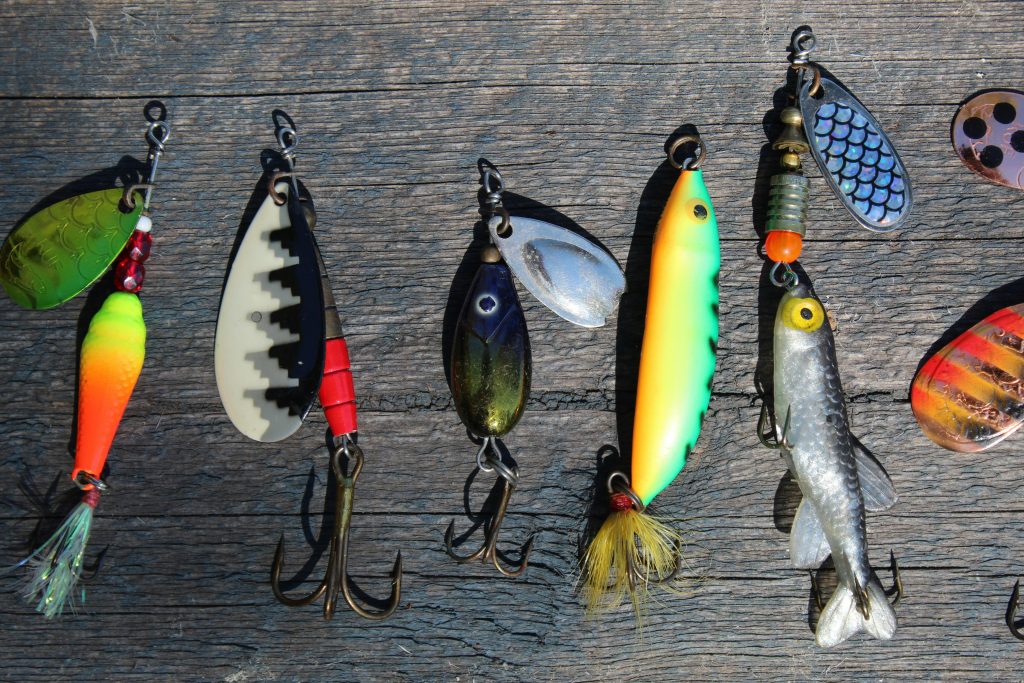
Instead of bringing every lure you own, build one small box around the water and species you expect to fish.
For lakes, ponds, and slow rivers:
- A few Texas-rig soft plastics, such as worms, craws, or creature baits, with 1/8–1/4 oz weights
- A couple of weedless swimbaits or paddletails on 1/8–1/4 oz jigheads
- 1–2 spinnerbaits or chatter-style baits for covering water
- 1 topwater, such as a popper or walking bait, for calm mornings
- A small assortment of hooks, weights, and snap swivels
For beginner-friendly inshore water, such as protected bays, marshes, and flats:
- 3–5 soft plastics, such as paddle tails or shrimp imitations
- 1–2 packs of 1/8–1/4 oz jigheads
- A spoon or two for covering flats
- A popping cork setup if that’s common where you fish
Plus:
- Small pack of terminal tackle in a divider box
- A few pre-tied leaders so you’re not fumbling in the wind
One main tackle box plus a small backup pouch is usually easier to manage than several trays stacked in a crate. Less searching also means less loose gear and fewer opportunities for hooks and line to snag around the cockpit.
Tools and small essentials
These are the little things that make your day go smoothly:
- Fish grips, especially handy with toothy fish or treble hooks
- Needle-nose pliers or forceps
- Line cutters, such as small scissors or dedicated snips
- Net, optional but helpful for inshore fish or larger bass
- Small towel or rag for slimy hands
- Polarized sunglasses to see structure and protect your eyes
- Sunscreen and a hat because the sun reflects hard off the water
The crate: Your simple “tackle station”
For a beginner kayak fishing setup, a basic milk crate or simple plastic crate behind your seat is perfect:
- Holds your main tackle box
- Holds a small dry bag for wallet, keys, snacks, and backup items
- Can carry a couple of extra items like a small cooler or water bottle
Add rod holders later if you want. For now, keep it simple and open. The more “stuff” sticking up, the more there is to snag your line.
Keep the top of the crate relatively clear. Stacked trays, loose bags, and upright accessories can create unnecessary snag points when you cast, land fish, or turn around to reach gear.
Step 4: Setting Up the Kayak – Clean Deck, Clear Mind
Think of your kayak like a tiny fishing room. If the floor of that room is covered in random stuff, you’ll trip over it. Same idea here.
A simple front-to-back layout
A simple front-to-back layout can look like this:
- Bow, front:
Lightweight items you don’t need constantly: rain jacket, spare water, anchor line neatly coiled, maybe your lunch in a small dry bag. - Between your feet:
As empty as possible. Maybe a small tackle tray or net flat on the deck if you have the space and it doesn’t trip your feet. - Seat area:
Pliers clipped to your PFD or on a retractable tether by your thigh, line cutters on a lanyard, one rod in your hand, and the other in an easy-to-reach holder. - Behind the seat:
Crate with main tackle box, dry bag for wallet and keys, small cooler or insulated bag, and anchor or stake-out pole secured to one side.
A few habits that prevent chaos
- Leash the paddle.
Cheap insurance. You’ll thank yourself the first time you bump it reaching for a rod. - Limit what’s on top of the crate.
One or two things max. Everything else goes inside. - Keep hooks away from your seat and foot area.
A snagged hook in a seat strap or footwell can become a minor crisis when you’re drifting toward a dock or reeds. - Secure your rods for transport and landing.
Crossing wakes or sliding off a muddy bank is when rods like to hop overboard.
Over time, you’ll tweak this. But starting with a simple, clean layout will make your first kayak fishing trip way less stressful.
Step 5: Launching and Landing Without Drama
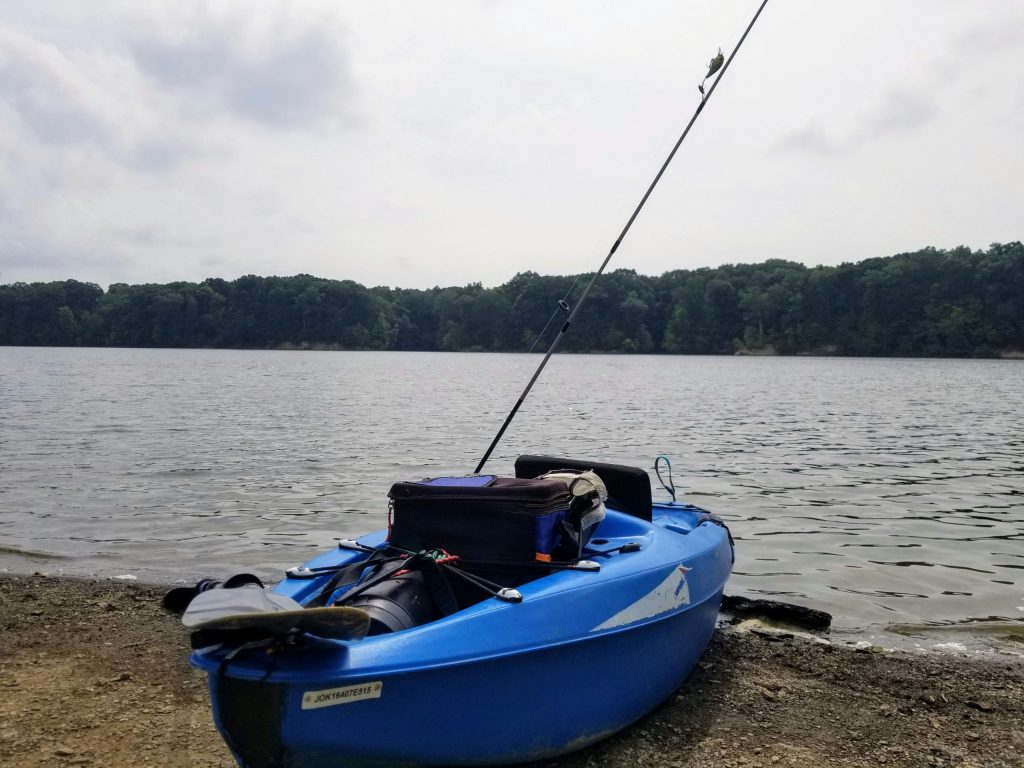
Most new kayak anglers are more nervous about launching and landing than actual fishing. That’s normal. A couple of simple routines make it much less awkward.
Load your kayak in stages
Instead of lugging a fully rigged spaceship to the water, load the kayak in two stages.
At the car:
- Put your PFD on.
- Load your paddle, rods, and empty crate into the kayak.
- Keep small valuables, such as keys and phone, on you in a pocket or small dry bag.
At the water’s edge:
- Slide the kayak in enough that it floats lightly but is still touching bottom.
- Put heavier or loose items, such as cooler and extra tackle, in the crate or storage area.
- Double-check paddle leash, rod leashes if you use them, and PFD fit.
Keeping loose tackle and valuables contained until the kayak is stable at the water’s edge reduces the chance of dropping or losing gear during a busy launch.
Getting in from a low bank or ramp
For a typical low bank or concrete ramp:
- Put the kayak in shallow water, parallel to the shore if you can.
- Place your paddle across the kayak behind your seat for balance.
- Stand beside the seat area, holding both sides of the kayak.
- Sit your butt in the seat first, then bring your legs in one at a time.
- Push off gently with your paddle or hand.
Take your time. No one at the ramp is judging as much as you think they are. Most are worried about their own stuff.
Coming back in
When you paddle back:
- Approach the shore slowly, ideally upwind or up-current so you’re in control.
- Glide in and let the hull bump bottom gently.
- Keep your weight low as you swing your legs out and stand up.
If it’s a steeper ramp, use your paddle as a brace again while you stand. No style points are awarded here. Slow and steady wins.
Step 6: Boat Control 101 – Wind, Current, and Quiet Feet
If you only remember one thing from this section, let it be this: fish from stable positions, not while you’re constantly fighting the kayak.
Understanding wind, the invisible boss
Wind can move a fishing kayak quickly enough to change casting angles, push the hull off a shoreline, or turn a short return paddle into much more work. Beginners should learn to notice wind direction before they start fishing a bank or drift.
Basic wind rules:
- Start your drift upwind or up-current of where you want to fish. Let the kayak quietly move you through the zone.
- Face into the wind when you want to stay put longer; it slows your drift.
- Use short, quiet paddle strokes to adjust your angle, not big flailing ones that send you spinning.
On small lakes and ponds, even a light breeze can turn your kayak. Use it instead of fighting it: set up to drift along a weed edge or shoreline and make casts as you go.
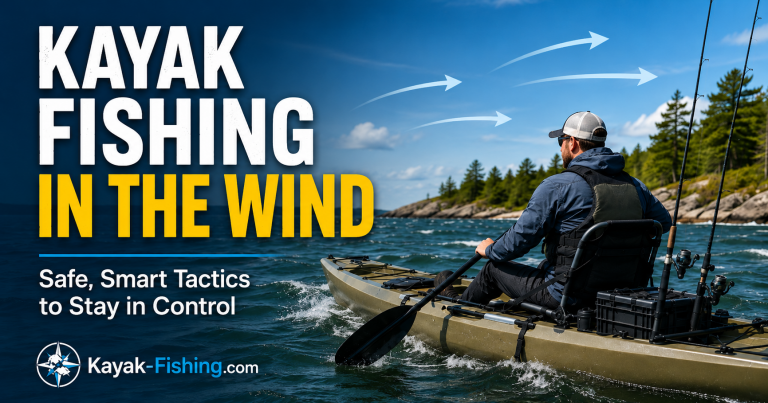
For a deeper beginner breakdown, read this guide on kayak fishing in the wind before launching on breezy days.
Simple anchoring options
You don’t need a fancy anchor trolley right away, but you do need a way to pause:
- Light anchor, 2–3 lb, with 30–50 ft of rope:
Good for lakes and bays with a soft bottom. Drop it slowly from the front or back, not the side, so you don’t get pulled sideways. - Stake-out pole or shallow-water stick:
Great for marshes, flats, and shallow coves. Stick it in the mud or sand and clip or tie it off to the kayak.
Always be cautious about anchoring in current. In stronger river flows or fast tidal cuts, it’s often safer to drift through and paddle back up, especially as a beginner.
If you’re trying to choose your first anchor setup, this breakdown of the best kayak anchors for lakes, rivers, and inshore fishing will help you avoid overbuying.
Quiet movements matter
Fish absolutely feel bumps and bangs on the hull:
- Place rods down gently, don’t drop them.
- Avoid stomping or shifting weight abruptly.
- Don’t toss pliers onto the deck; set them down.
Keeping deck noise down is also useful around shallow fish. Kayaks can approach quietly, but dropped pliers, banging rods, and abrupt hull movement reduce that stealth advantage.
Step 7: Planning Your First Kayak Fishing Trip
This is where a lot of beginners overthink things. Let’s keep your first few trips simple and realistic.
Pick easy water and a short route
For a first kayak fishing trip, a conservative plan looks like this:
- Small to medium lake, calm pond, or very gentle river bend
Protected inshore bay or marsh cove if you’re coastal, with little boat traffic. - Short paddle from the launch
Stay within 10–15 minutes of the ramp at first. You’ll be surprised how much you can fish without going far. - Stable weather forecast
Choose light winds, manageable gusts, and no thunderstorms in the forecast. A number such as 10 mph is not a universal safety cutoff; wind direction, fetch, current, boat traffic, kayak design, and your ability to paddle back to the launch all matter. Check the local weather before launching and reassess conditions at the water.
Bring a printed or saved map on your phone showing:
- The launch point
- A few shorelines, points, or coves you want to fish
- Obvious hazard areas such as shallow rocks, stump fields, or stronger current
Time of day and trip length
For spring through fall:
- Early morning or evening: Less boat traffic, lower wind, and better fishing more often than not.
- Trip length: Plan for 3–4 hours on the water, especially at first. Long enough to fish, short enough not to get worn out.
Shoulder seasons, like spring and fall, add extra considerations: cooler mornings, warmer afternoons, and sometimes cold water. If you’re out in those conditions, pack a light extra layer and keep a closer eye on the forecast.
A simple game plan
An example plan for a beginner on a lake:
- Launch at sunrise from a public ramp on a small lake.
- Paddle along the right-hand shoreline, staying 20–30 yards out.
- Target visible structure: docks, laydowns, weed edges.
- Fish with a simple soft plastic or spinnerbait, covering water steadily.
- After an hour, take a break, drink water, and check in with yourself: “Am I warm, comfortable, and still confident?”
- Turn around in time that you’re back at the ramp a little before the wind typically picks up.
If you’re inshore, same idea: stay in a protected creek or marsh pocket, watch the tide level, and don’t stray too far from the launch until you’re comfortable.
Beginner rule: Your first few trips should feel almost too easy. Easy launch, easy weather, easy route, easy gear. Save the long paddles, sketchy wind, and complicated rigging for later.
Step 8: Actually Catching Fish from a Kayak (Without Overcomplicating It)
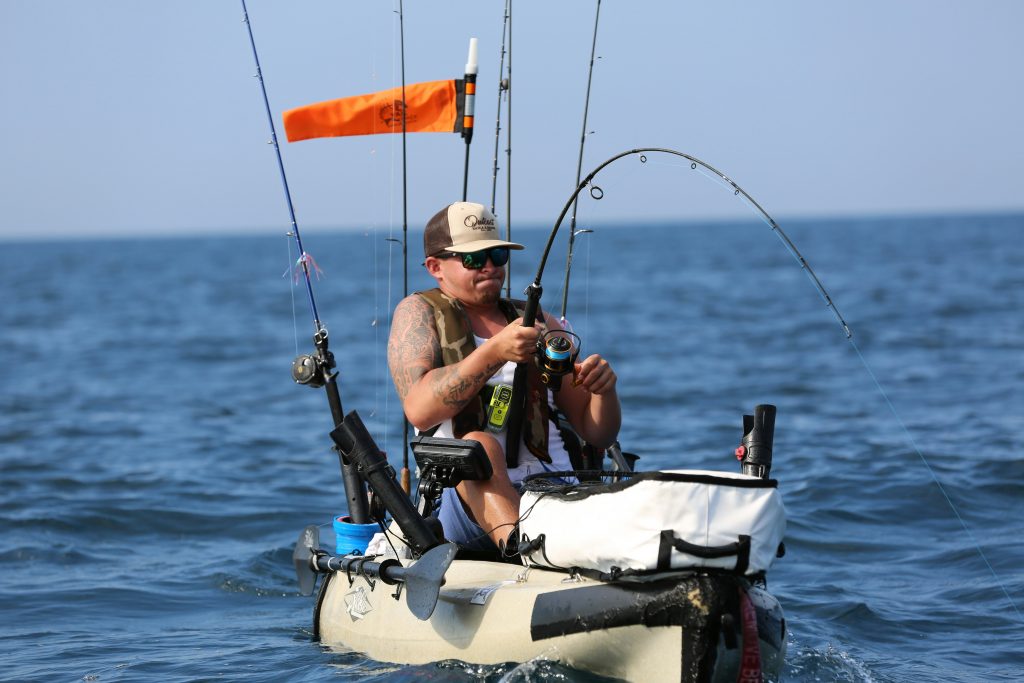
Here’s the good news: almost everything you know from bank or boat fishing still applies. You’re just lower to the water with a bit more stealth and a bit less room.
Fish the same “good looking stuff” you already trust
In lakes and ponds:
- Shoreline transitions such as rock to mud, sand to weeds, or shallow to deeper banks
- Points and pockets
- Laydown trees, stumps, and dock posts
- Edges of visible grass or pads
In marshes and bays:
- Edges of grass lines
- Points where creeks enter a bay
- Oyster edges, while being careful with your hull
- Small drains and cuts on a falling tide
The kayak’s secret sauce is how quietly it can slide into these spots.
Casting angles from the kayak
One thing that feels different is casting angles:
- Try to position the kayak slightly off to the side of your target, not directly on top of it.
- Make casts parallel to shorelines or structure, not just straight in and straight out.
- If you hook a fish, keep the rod low and to the side to use the kayak’s stability rather than lifting straight up.
Remember: the kayak will move when a decent fish pulls. That’s okay. Let it tow you a bit if needed; you don’t have to horse the fish.
Keep your lure choices simple
For a beginner kayak fishing setup, most freshwater trips can be simplified to:
- Bottom contact lure: Texas-rig worm or creature bait
- Moving lure: Spinnerbait, small swimbait, or chatter-style bait
- Surface or subsurface finesse: Small topwater or weightless stick bait
For inshore:
- Soft plastic on a jighead as your main workhorse
- Spoon or swimbait for covering flats or points
- Popping cork plus soft plastic or live bait if that’s common in your area
Pick one or two “confidence” lures per outing and commit some time to them rather than constantly swapping.
Step 9: Learn from Your First Five Trips (and Avoid Common Mistakes)
You don’t have to be perfect on day one. In fact, you won’t be. The trick is to learn on easy days, in easy places, with forgiving setups.
These are common beginner problems because each one adds clutter, fatigue, or unnecessary risk:
- Overpacking:
Bringing six rods, ten boxes of tackle, and a cooler big enough for a week.
Fix: Two rods, one or two boxes, small cooler, and basic tools. - Ignoring the wind:
Launching with a strong wind at your back and drifting way down the lake without thinking about paddling back.
Fix: Start by paddling into the wind so the way back is easier. - Not drinking or eating enough:
It’s easy to forget when you’re focused on staying upright and untangling line.
Fix: Set a mental reminder to sip water every 20–30 minutes. - Messy deck layout:
Hooks, tools, and line all over the footwell.
Fix: Everything has a home. If it doesn’t, it probably doesn’t need to be there. - Skipping practice re-entry:
If you’re in warm, shallow, safe water with a buddy nearby, practicing a wet exit and re-entry can be confidence-boosting.
Fix: When conditions are safe, intentionally flip the kayak near shore and climb back in a few times.
For more details, read Beginner Kayak Fishing Mistakes.
After each of your first few trips, ask yourself:
- What did I actually use?
- What never left the crate?
- What annoyed me or felt unsafe?
- What felt surprisingly easy?
Adjust one or two things next trip — gear, route, launch time — rather than changing everything at once.
Shoulder season adjustments
As you gain confidence and the seasons shift:
- Cut trips a bit shorter in colder weather.
- Pack a backup dry shirt in a small dry bag.
- Take wind and water temperature more seriously.
- Double-check that your PFD fit and layers still feel good when seated and paddling.
You don’t have to become a hardcore cold-water angler, but if you’re pushing into spring and fall, build habits now that keep you safe later.
Kayak Fishing for Beginners FAQs
What is the best kayak for beginner kayak fishing?
For most beginners, the best kayak is a stable sit-on-top fishing kayak in the 10–12 foot range. It does not need to be expensive or loaded with electronics. A comfortable seat, decent stability, a few rod holders, and enough space for a small crate are more important than speed or fancy accessories.
Is kayak fishing safe for beginners?
Kayak fishing can be approached conservatively by choosing protected water, wearing a properly fitted PFD, checking wind and storms, dressing for the water temperature, staying close to the launch, and avoiding strong current or heavy boat traffic while you are learning. Conditions and legal requirements vary, so beginners should treat safety planning as part of every trip rather than relying on one universal rule.
How many rods should I bring kayak fishing?
One or two rods is plenty for a beginner. Two rods let you keep one moving bait and one slower bait ready without cluttering the deck. Bringing four or five rods too early usually creates more tangles and stress than it solves.
What gear do I actually need to start kayak fishing?
At a minimum, you need a stable kayak, paddle, properly fitted PFD, whistle or sound signal, basic rod and reel, small tackle box, pliers, line cutters, water, sun protection, and a way to keep your phone and keys dry. A crate, small anchor, and net are helpful but do not need to be complicated.
Should beginners anchor a kayak?
Beginners can anchor a kayak in calm lakes, ponds, and protected bays, but they should be careful in current. Never anchor from the side in moving water. If the current feels strong or unpredictable, it is often safer to drift through the area and paddle back up instead of anchoring.
What wind speed is too much for beginner kayak fishing?
There is no single wind-speed cutoff that is safe for every beginner and every kayak. Light wind on protected water is the better starting point. A forecast around 10 mph can already become difficult when gusts are higher, the wind has a long open-water fetch, current runs against it, or the return route is exposed. When in doubt, choose more protected water and stay close to the launch.
Can you kayak fish without a fish finder?
Yes. A fish finder can help later, but beginners can catch plenty of fish by learning shoreline structure, weed edges, docks, points, laydowns, current seams, and visible bait activity. Good boat control and simple lure choices matter more than electronics at the beginning.
If you’re still building confidence, bookmark this kayak fishing for beginners guide and come back to it before each of your first few trips.
Bringing It All Together on the Water
Kayak fishing for beginners doesn’t have to mean reading 20 tabs and buying everything in a catalog. It can be as simple as:
- A stable, basic sit-on-top kayak
- A solid PFD and a few safety habits
- A compact set of rods, lures, and tools
- A clean, thoughtful layout
- Short, well-planned trips on forgiving water
From there, you’ll naturally figure out what matters for your style of fishing. Maybe you’ll eventually add a fish finder, upgrade your paddle, or rig an anchor trolley. But none of that is required to start catching fish and enjoying quiet mornings a few paddle strokes from the ramp.
A good first few trips should build confidence without requiring difficult water, heavy rigging, or long paddles. If the setup feels safe, manageable, and easy to repeat, it is doing its job.
Start simple, learn the kayak first, and add complexity only when it solves a problem you actually have.